Title here
Summary here
Optical Sensors
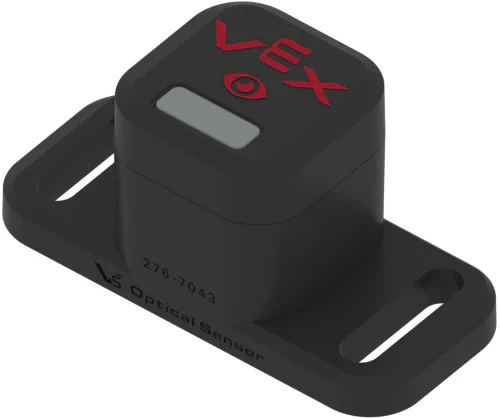
Some tasks in robotics require the robot to actually “see” what it is picking up. For example: sorting colored discs, stopping a conveyor belt when an object arrives, or detecting the color of a game piece before deciding what to do with it. For these tasks, robots use Optical Sensors.
An optical sensor is a small device that combines three abilities into one: it can detect how close something is, what color it is, and how bright the light around it is. It does this by shining its own light and measuring how that light bounces back.
Why does this matter?
In competition games that involve sorting colored pieces, an optical sensor can automate the entire process. The robot can detect the color, make a decision, and react — all without any human input!
Key Terms
How it Works
The optical sensor has three systems working together through a single lens:
1. Proximity Detection
The sensor shoots out invisible infrared (IR) light — similar to a TV remote. When an object is close, the light bounces back to the sensor. The sensor measures the strength of the returning light and converts it to a number between 0.0 (nothing nearby) and 1.0 (right up against the lens). This tells you how close an object is.
2. Color Detection (RGB + White LED)
To read color accurately, the sensor has a built-in white LED. It turns on this light to illuminate the object, then measures how much Red, Green, and Blue light bounces back. These three values are combined and converted into a single Hue Angle — a number between 0 and 360 degrees representing the color on a color wheel.
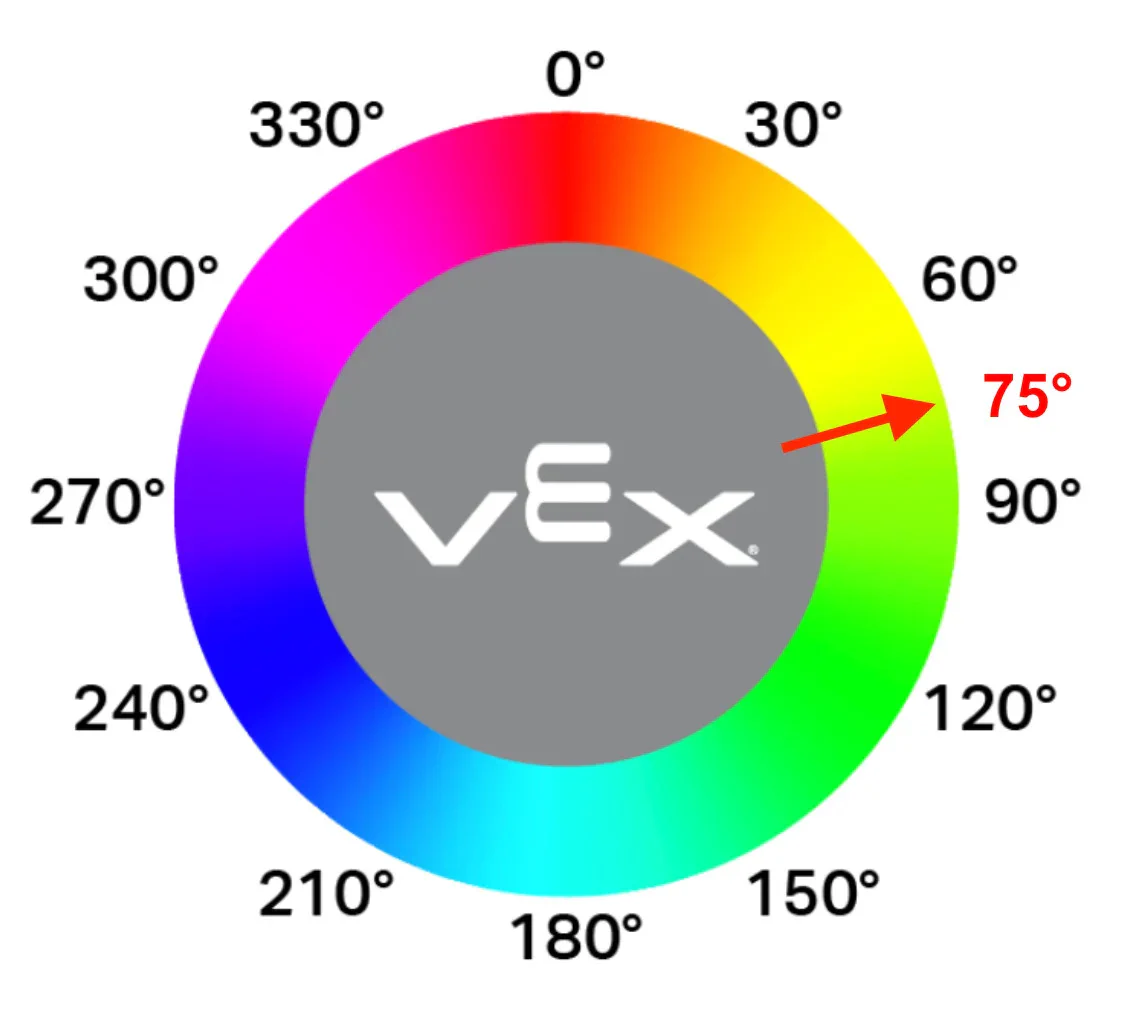
For example:
3. Update Speed
The sensor reads new data many times per second. The relationship between update speed and update time is:
$$f = \frac{1}{T}$$Where:
Faster updates make the robot react more quickly, but noisy sensor readings can cause problems if updates are too fast for the sensor to stabilize. A 20ms loop cycle is a good default.
Hardware Specifics
Pro Tip: Build a small hood (a cover made of dark plastic or metal) around the sensor to block out room lighting. If only the sensor’s own LED illuminates the object, the readings will be much more consistent regardless of the room’s ambient lighting.
Troubleshooting
Connection to Code
Below is sample code for using optical sensors.
void autonomousColorSorter() {
    // 1. Turn on the built-in LED to full power to standardize the lighting environment
    OpticalSensor.setLightPower(100, percent);

    // 2. Continuous control update loop
    while (true) {
        // Only run sorting checks if an object is highly close to the lens
        if (OpticalSensor.proximity() > 0.85) {

            // Read the exact hue value (0.0 to 360.0 degrees)
            double currentHue = OpticalSensor.hue();

            // Define a strict mathematical threshold window for a RED piece
            if (currentHue >= 0.0 && currentHue <= 22.0) {
                // Friendly color detected: Index into the robot storage
                ConveyorMotor.spin(forward, 100, percent);
            }
            // Define a threshold window for an ENEMY BLUE piece
            else if (currentHue >= 210.0 && currentHue <= 245.0) {
                // Enemy color detected: Fire pneumatic piston to eject the piece
                EjectPiston.set(true);
                wait(80, msec);
                EjectPiston.set(false);
            }
        } else {
            // No object present: Keep intake running smoothly
            ConveyorMotor.spin(forward, 50, percent);
        }

        // Fixed loop cycle time (T) to stabilize CPU processing load
        wait(20, msec);
    }
}