Title here
Summary here
Just like with Drivetrains, there are many types of lifts — each with its own strengths and weaknesses. Choosing the right lift depends on how high you need to reach, how much weight you need to carry, and how complex you want to build.
Why does this matter?
Many VEX games require placing or stacking objects at elevated goals. The right lift lets your robot reach those heights quickly, reliably, and without tipping over.
Four Bar Lift
A Four Bar Lift is the most popular lift in VEX robotics. It is stable, easy to build, and has one very special feature: whatever you attach to it stays at the exact same angle no matter how high or low the lift goes.
Unlike a simple single arm (which tilts backward as it rises), a four bar lift keeps a claw or intake perfectly level throughout its entire range of motion. This is incredibly useful for interacting with goals!
How it Works
The lift is named for its four rigid segments (bars), connected at four pivot points:
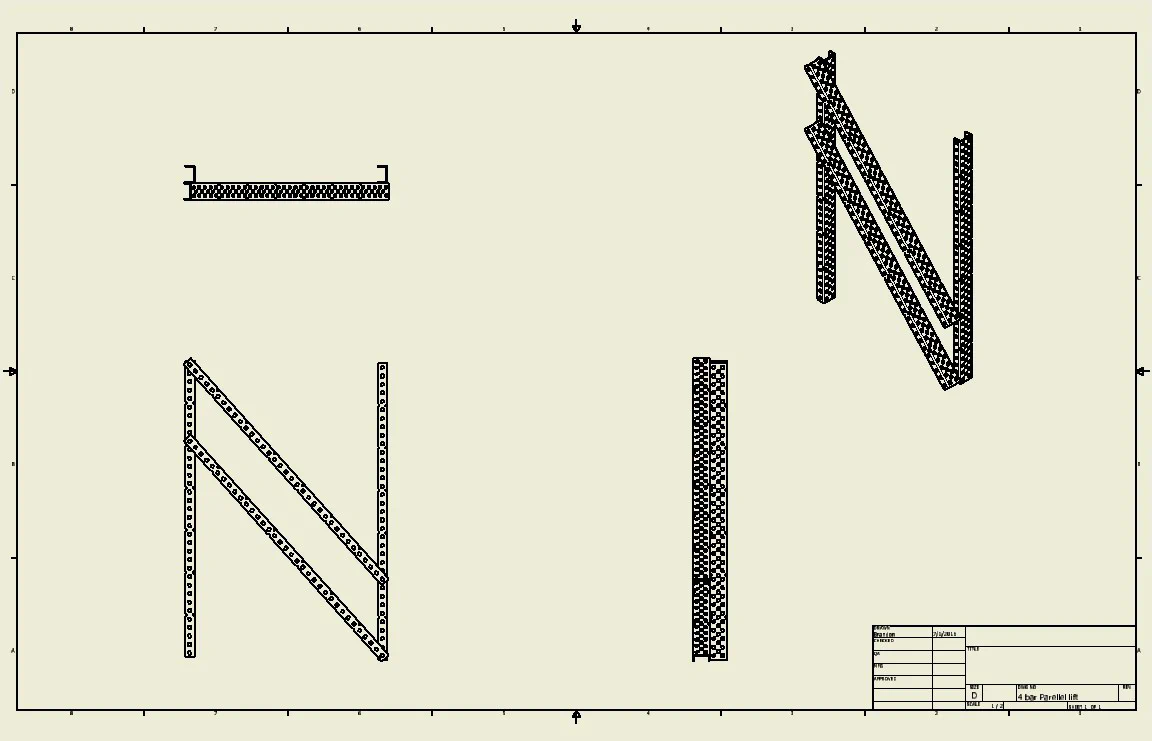
Because both arms are the same length and the spacing matches on both ends, the system forms a parallelogram. This forces the output to always stay parallel to the tower — regardless of the arm angle.
Power
Only one motor is needed to power the entire four bar lift, since all bars are mechanically linked.
Pros
Cons
Double Reverse Four Bar (DR4B)
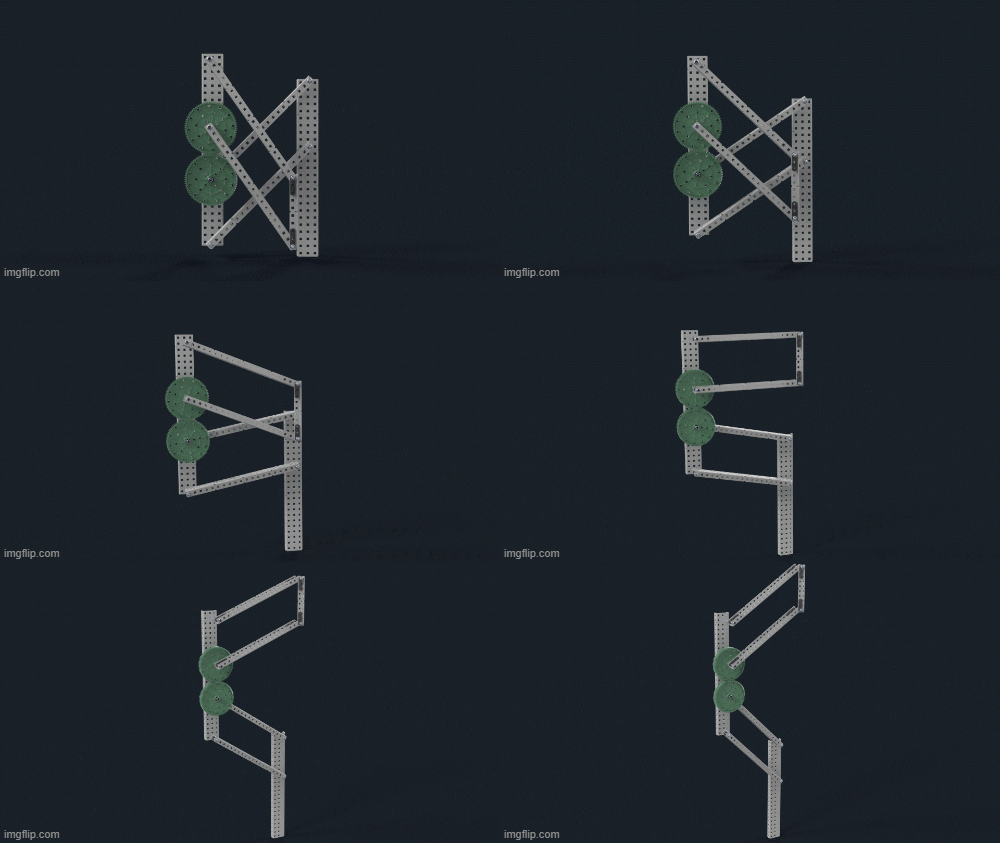
The Double Reverse Four Bar (also called DR4B or RD4B) is like two four bar lifts stacked on top of each other — but facing opposite directions. This allows it to reach much greater heights while still keeping the output angle perfectly level.
How it Works
Imagine the bottom four bar pointing forward as it rises, and the top four bar pointing backward. They are joined in the middle by a moving center plate.
Pros
Cons
Scissor Lift
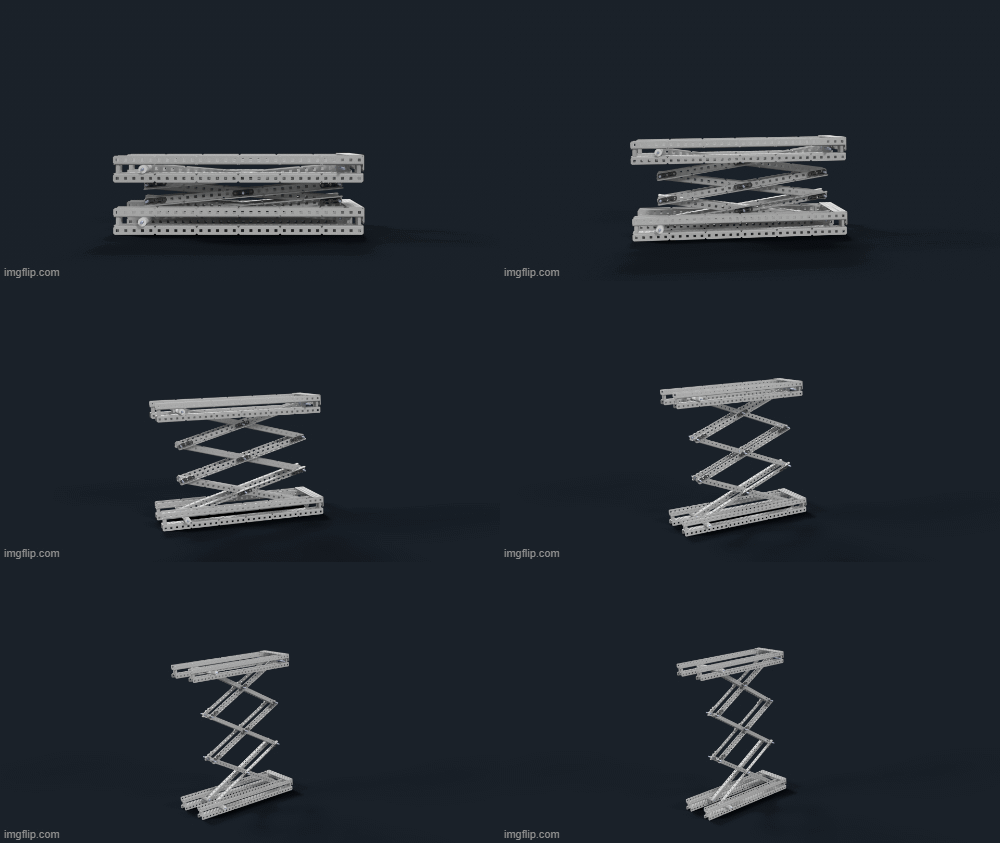
A Scissor Lift is one of the most recognizable lift types. It uses folding, crisscrossed beams (which look like scissors opening and closing) to travel perfectly straight up and down.
How it Works
A scissor lift converts horizontal (sideways) pushing force into vertical (upward) movement:
Important: Starting from Flat is Hard!
When the scissor lift is fully collapsed (flat), the pushing force is almost parallel to the beams. This gives the motor very little leverage — it is like trying to push open a folded map from the side. The formula for required lifting force is:
$$ \text{Required Lifting Force} \propto \frac{1}{\sin(\theta)} $$When the lift is flat, the angle θ is close to 0, making sin(θ) very small, which means the required force becomes very large. Motors often stall trying to start from a fully flat position.
Fix: Add rubber bands or helper springs that assist the lift only at the very bottom. This gives the motor the extra help it needs to get started.
Pros
Cons
Six Bar Lift
A Six Bar Lift is an improved version of the four bar lift. It uses the same parallelogram principle but adds an extra pair of linkages. This gives it greater maximum height and more outward reach without making the robot’s base any bigger.
It works on the same angle-retention principle as the four bar — the output attachment always stays level.
Best Practices: Bracing
No matter which lift you build, bracing is essential. Bracing means adding extra structural support to prevent the lift from wobbling or twisting under load.
Common bracing strategies:
Always brace your lift before testing under load. A lift that wobbles will throw off your autonomous code and can damage parts over time.